1. Role Management
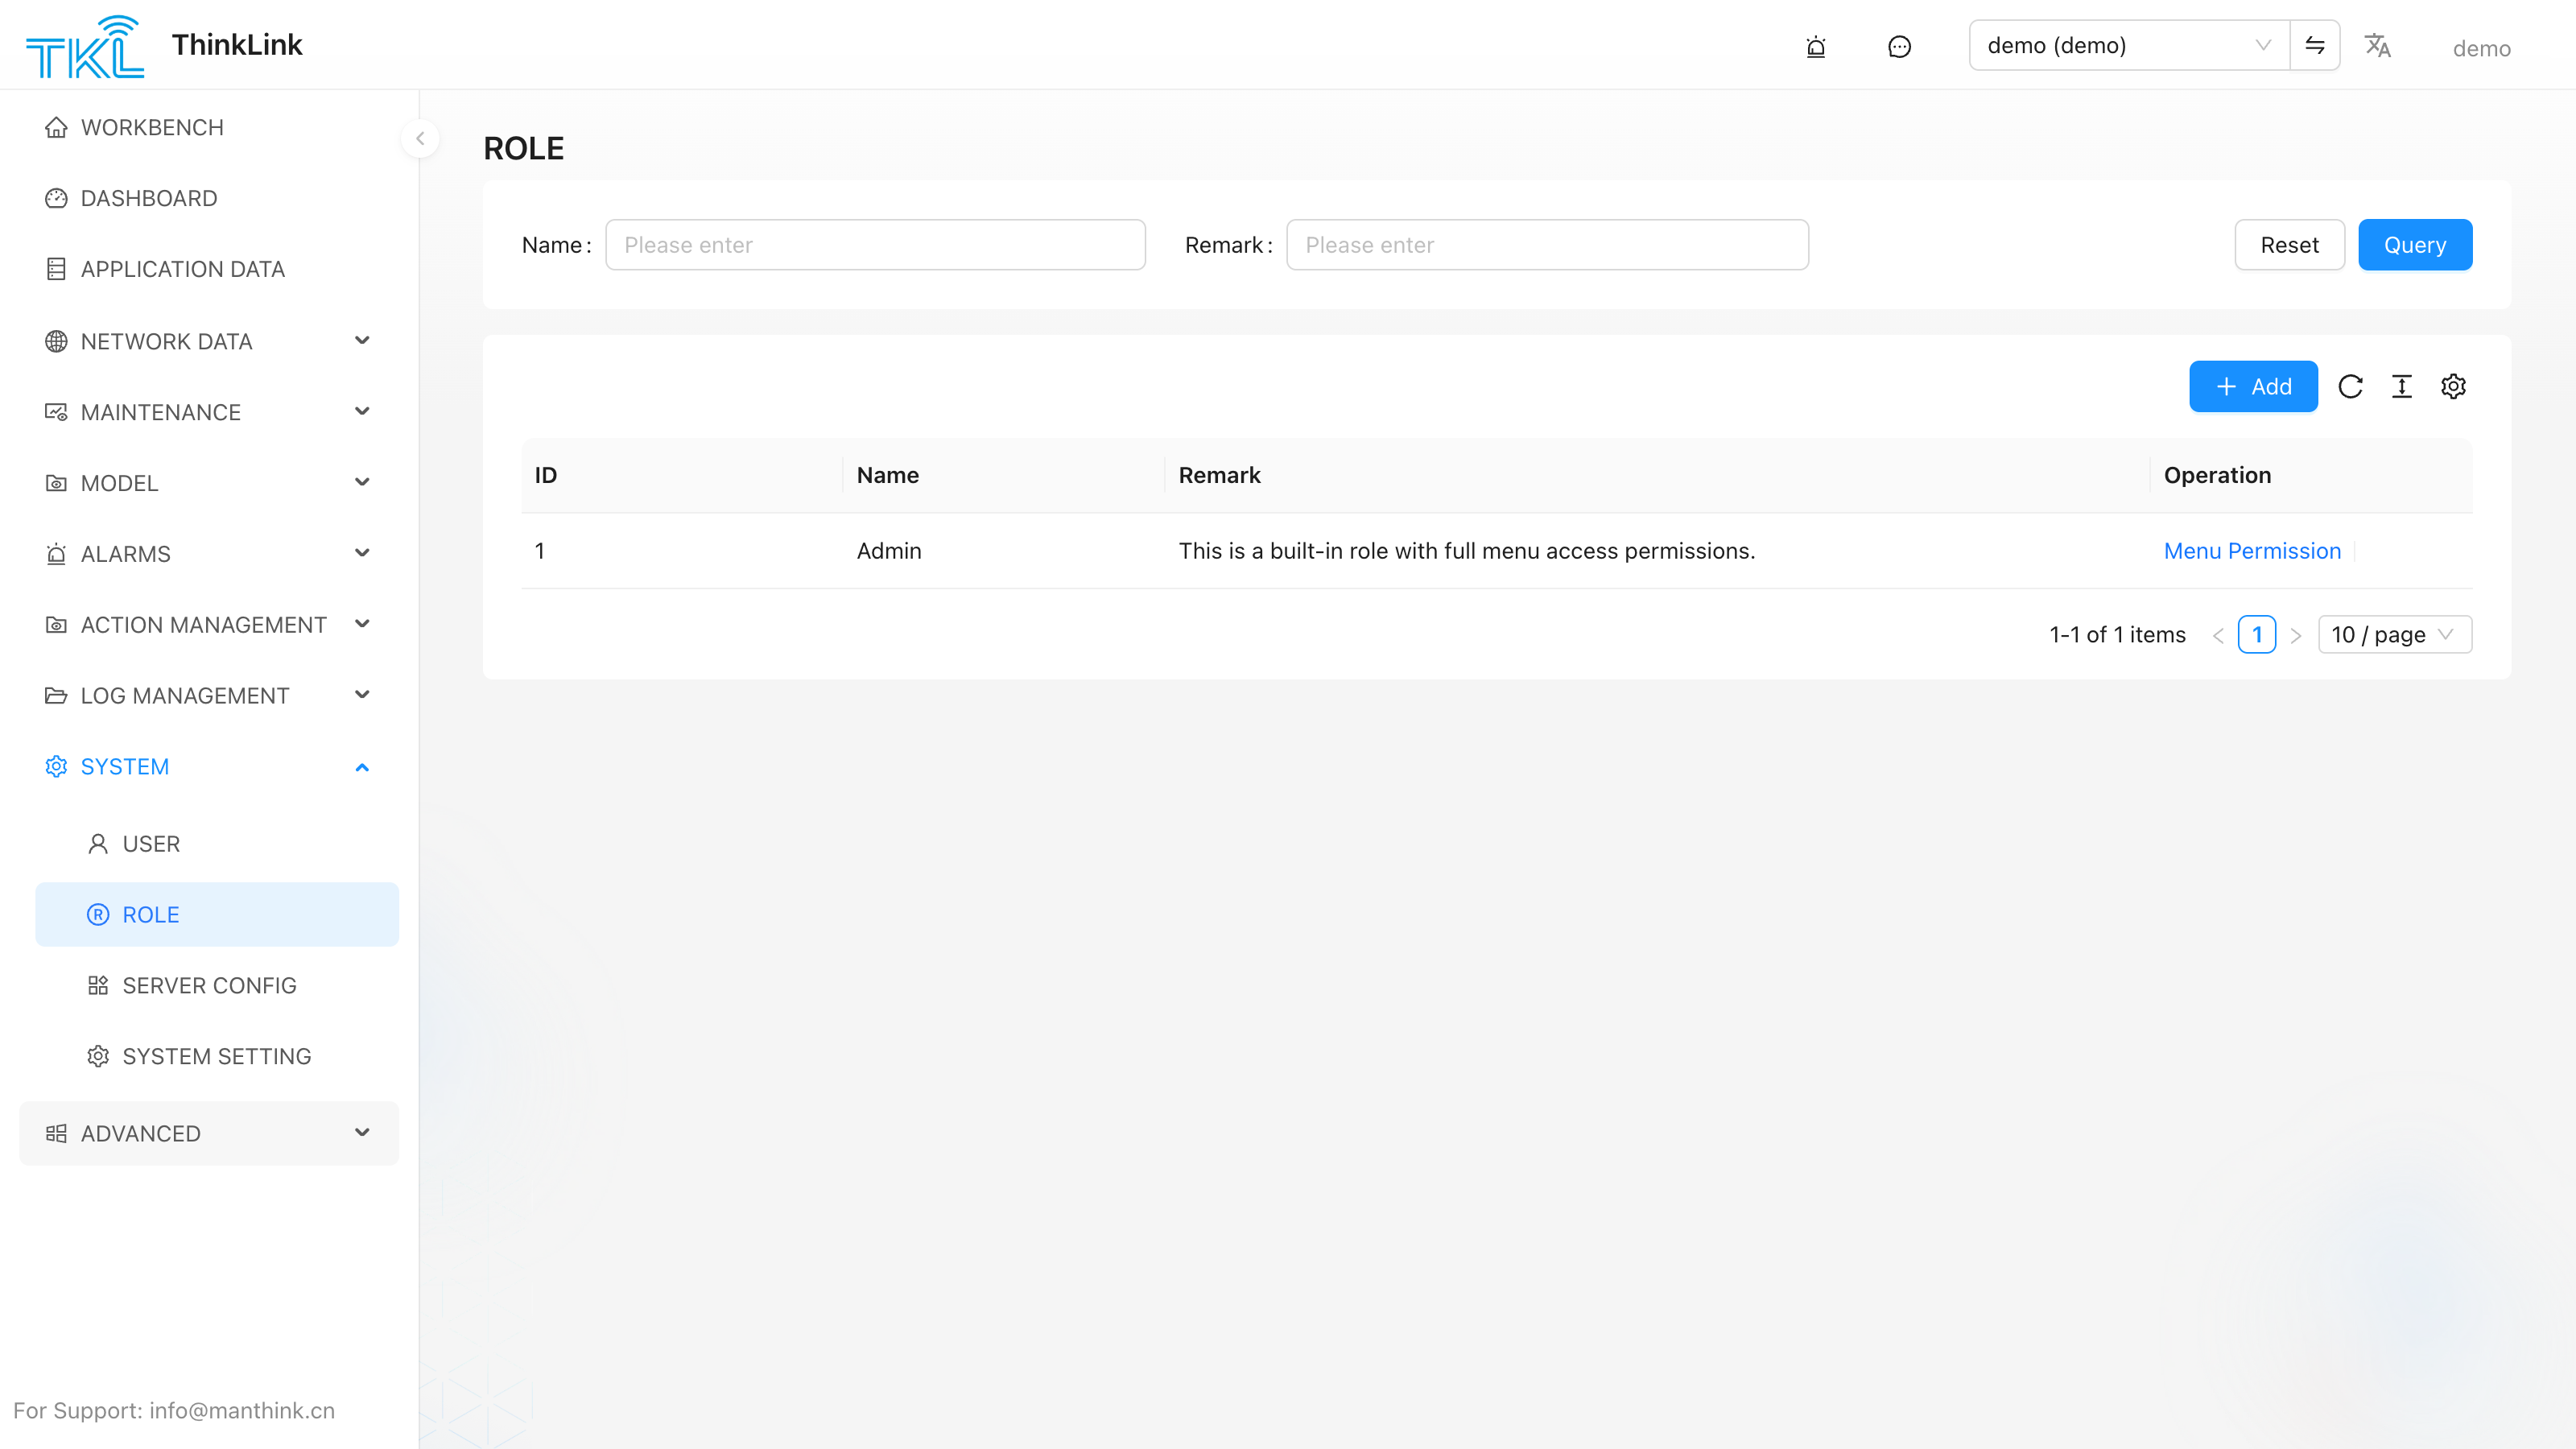
menu Path: SYSTEM → ROLE
thinkLink(TKL) provides the default admin the role, which has the highest operation permissions for all functions in the current organization and cannot be deleted.
Users can add custom roles in the following ways:
- Click "Add" button to pop up the new role configuration window.
- Enter a role name and optionally a description.
- In the permission configuration area, assign specific access permissions to the role by checking the corresponding menu item.
- Click "OK" to complete role creation.
After the role is created, the role can be assigned to the specified user in user management to achieve fine-grained permission control.
[Hint] It is recommended to reasonably divide role permissions according to actual business needs to avoid excessive concentration or insufficient permissions.
1.1. Grant Dynamic-Menu Permissions
Menus created from Advanced Features → Dynamic Menu also appear in the role menu-permission tree. To make one available to a custom role:
- Create the item from Advanced Features → Dynamic Menu and confirm that Enable and Show in Menu are both on.
- Open System Management → Role Management.
- Edit the target role.
- Find and select the new dynamic menu or menu group in the menu-permission tree.
- Click OK to save.
- Confirm that the target user has this role.
- Ask the user to refresh or re-enter the current organization, then verify that the menu appears and opens.
The default admin role has full menu access in the current organization and cannot be deleted. If a dynamic menu is not selected for a custom role, users with that role cannot access it even when the menu itself is enabled and visible.
For configuring micro applications, external URLs, menu groups, and open modes, see Dynamic Menus.