1. User Management
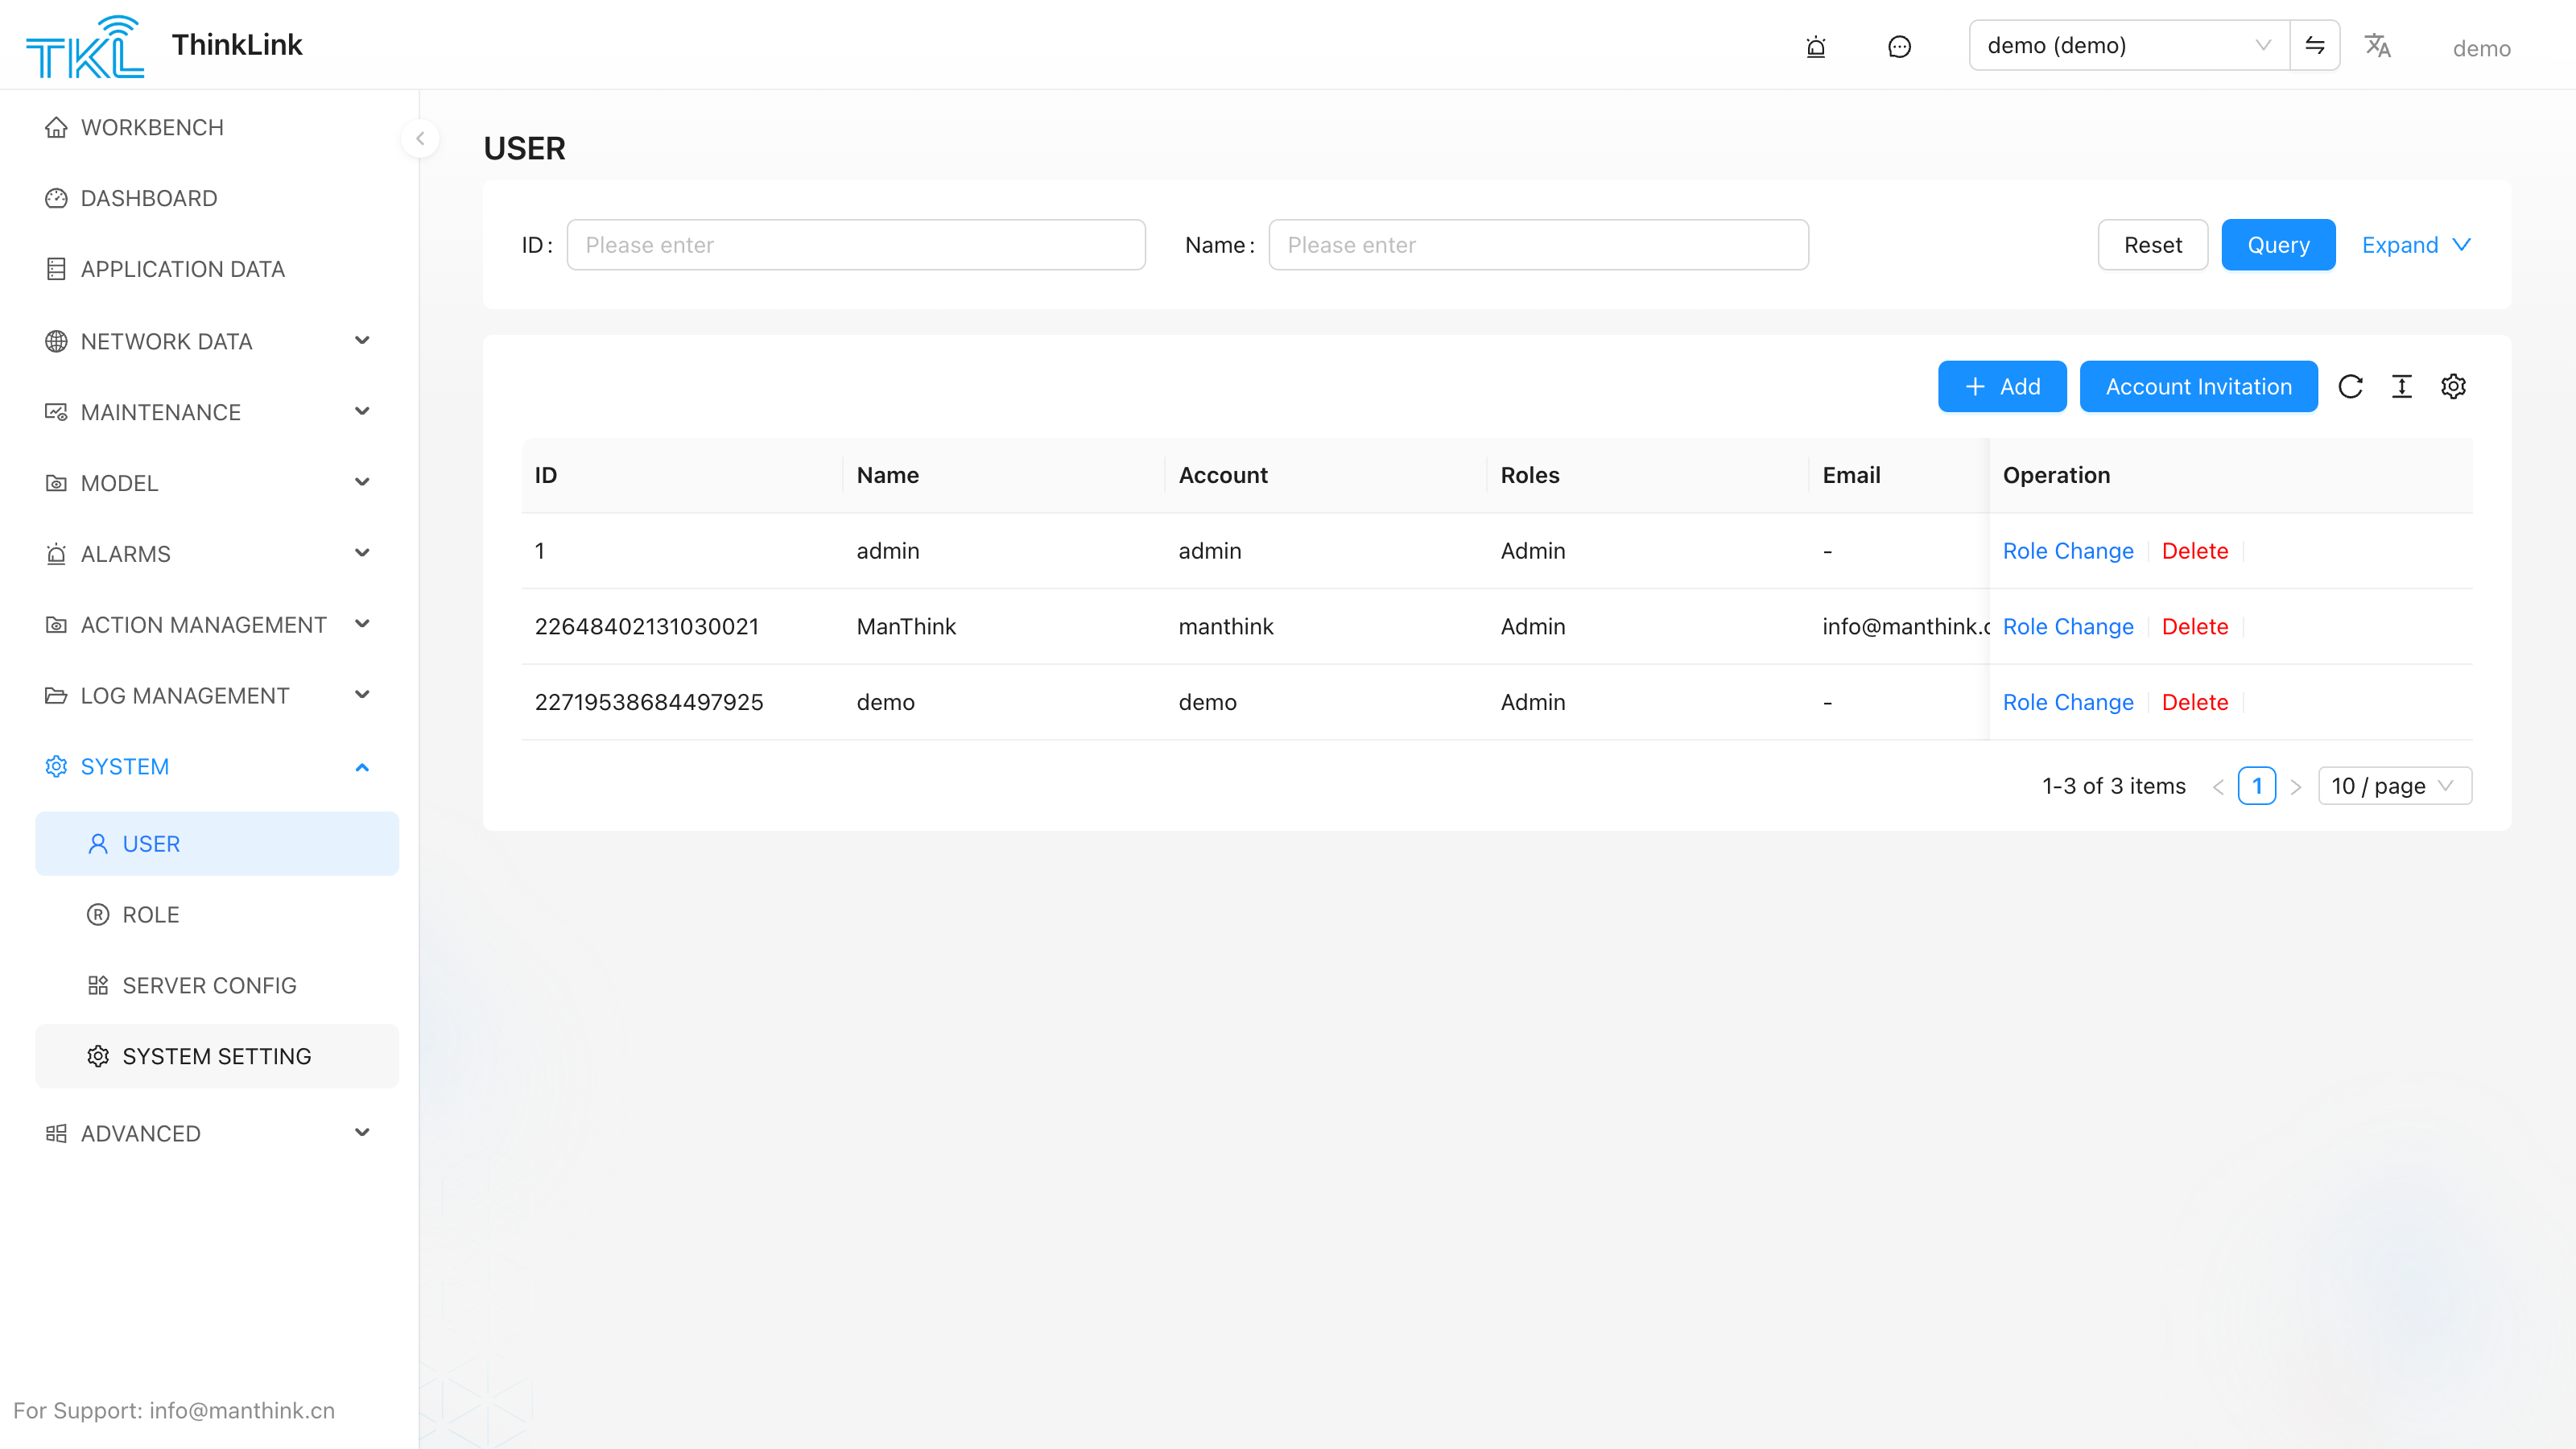
1.1. New User
operation Path: SYSTEM → USER → Add
- Click "Add" button to pop up the user creation form.
- Fill in the login account (usually email or mobile phone number), set the initial password.
- Select the role permissions to bind.
- Click Save to complete the user creation.
When newly created users log in for the first time, they will be prompted to complete personal information (such as name, contact information, etc.) to ensure that the account information is complete and available.
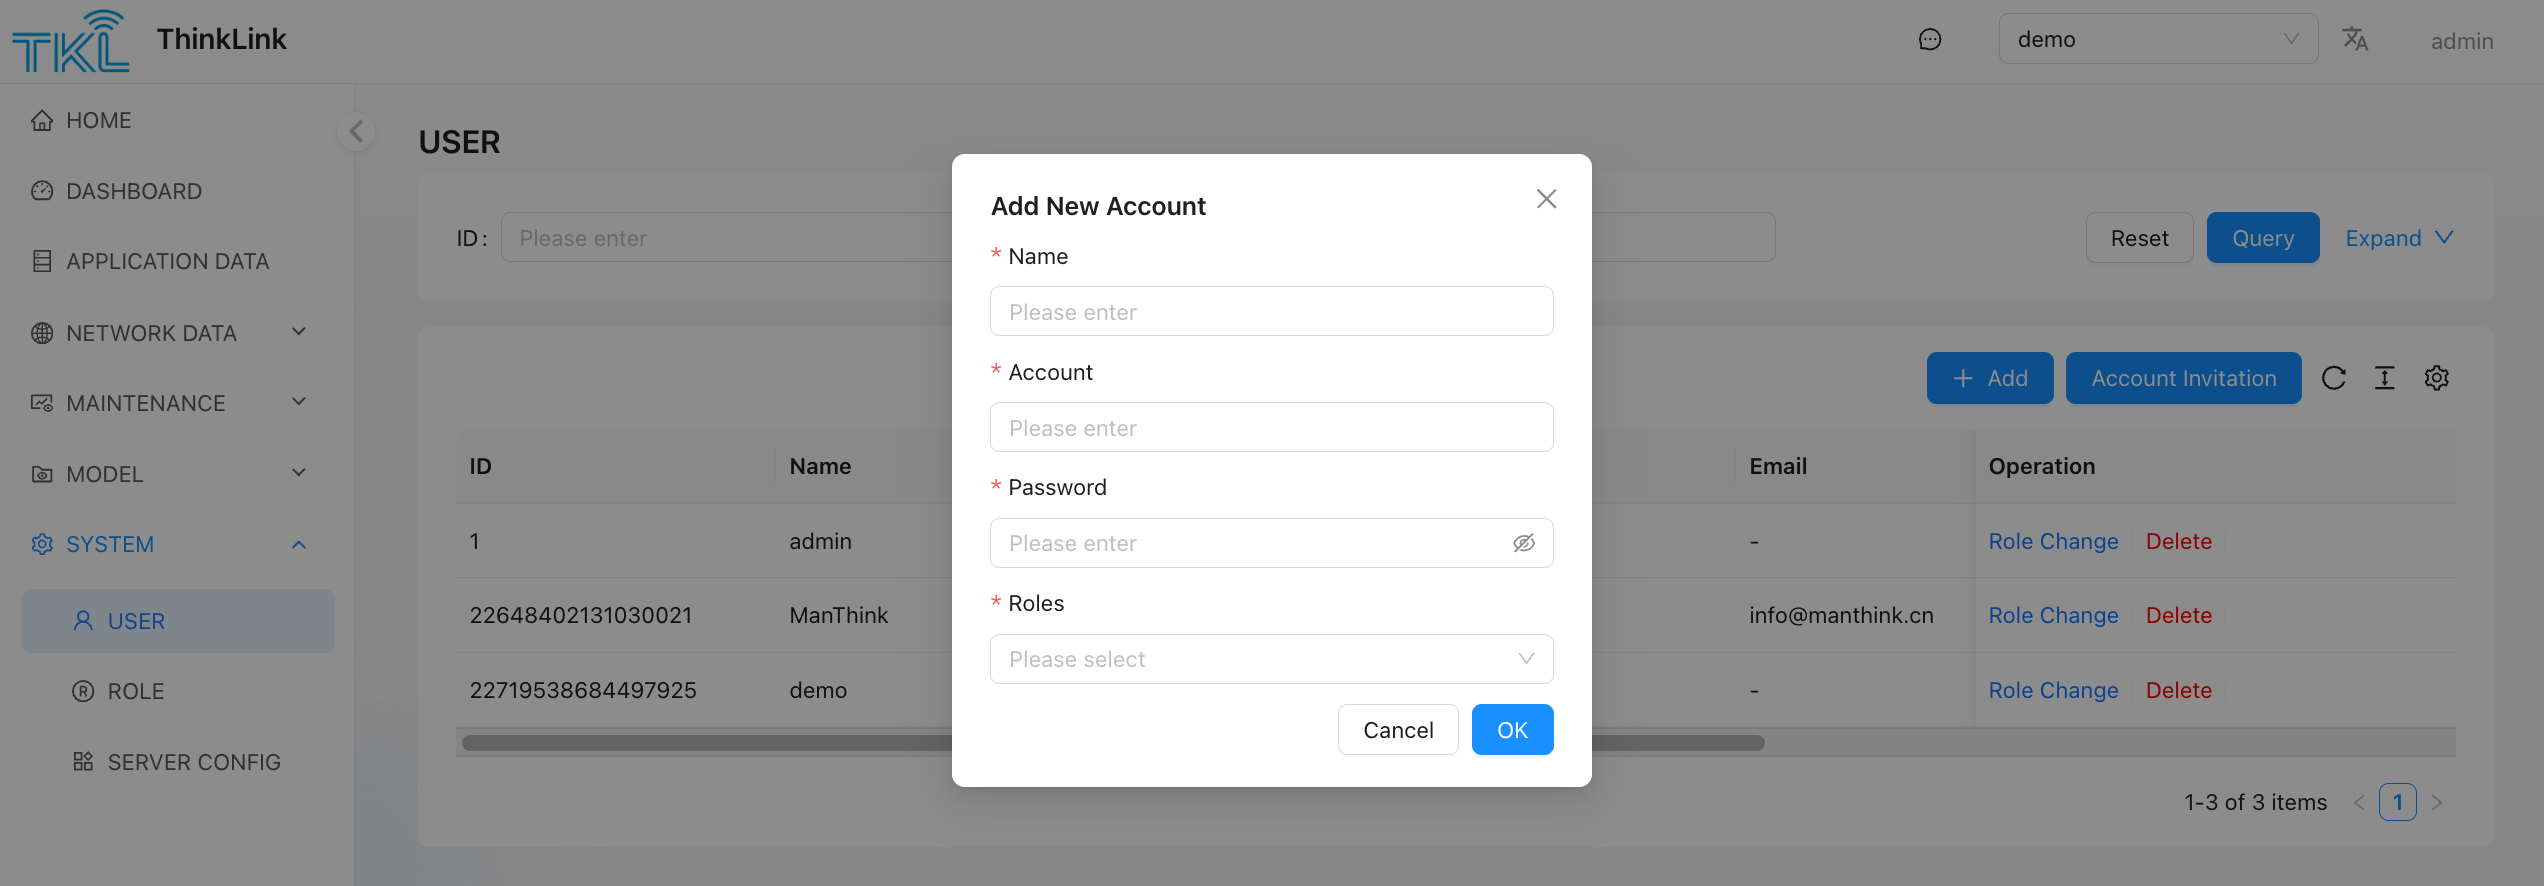
1.2. Invite Users
operation Path: SYSTEM → USER → Account Invitation
- Click "Account Invitation" button to pop up the invitation dialog box.
- Enter the account of the target user (supported email or mobile phone number).
- Select the role permissions to be granted from the drop-down list.
- Click Confirm to send the invitation.
The invited user will receive the invitation notification in the ThinkLink system message, click "Accept The Invitation" to join the organization and gain the appropriate permissions.
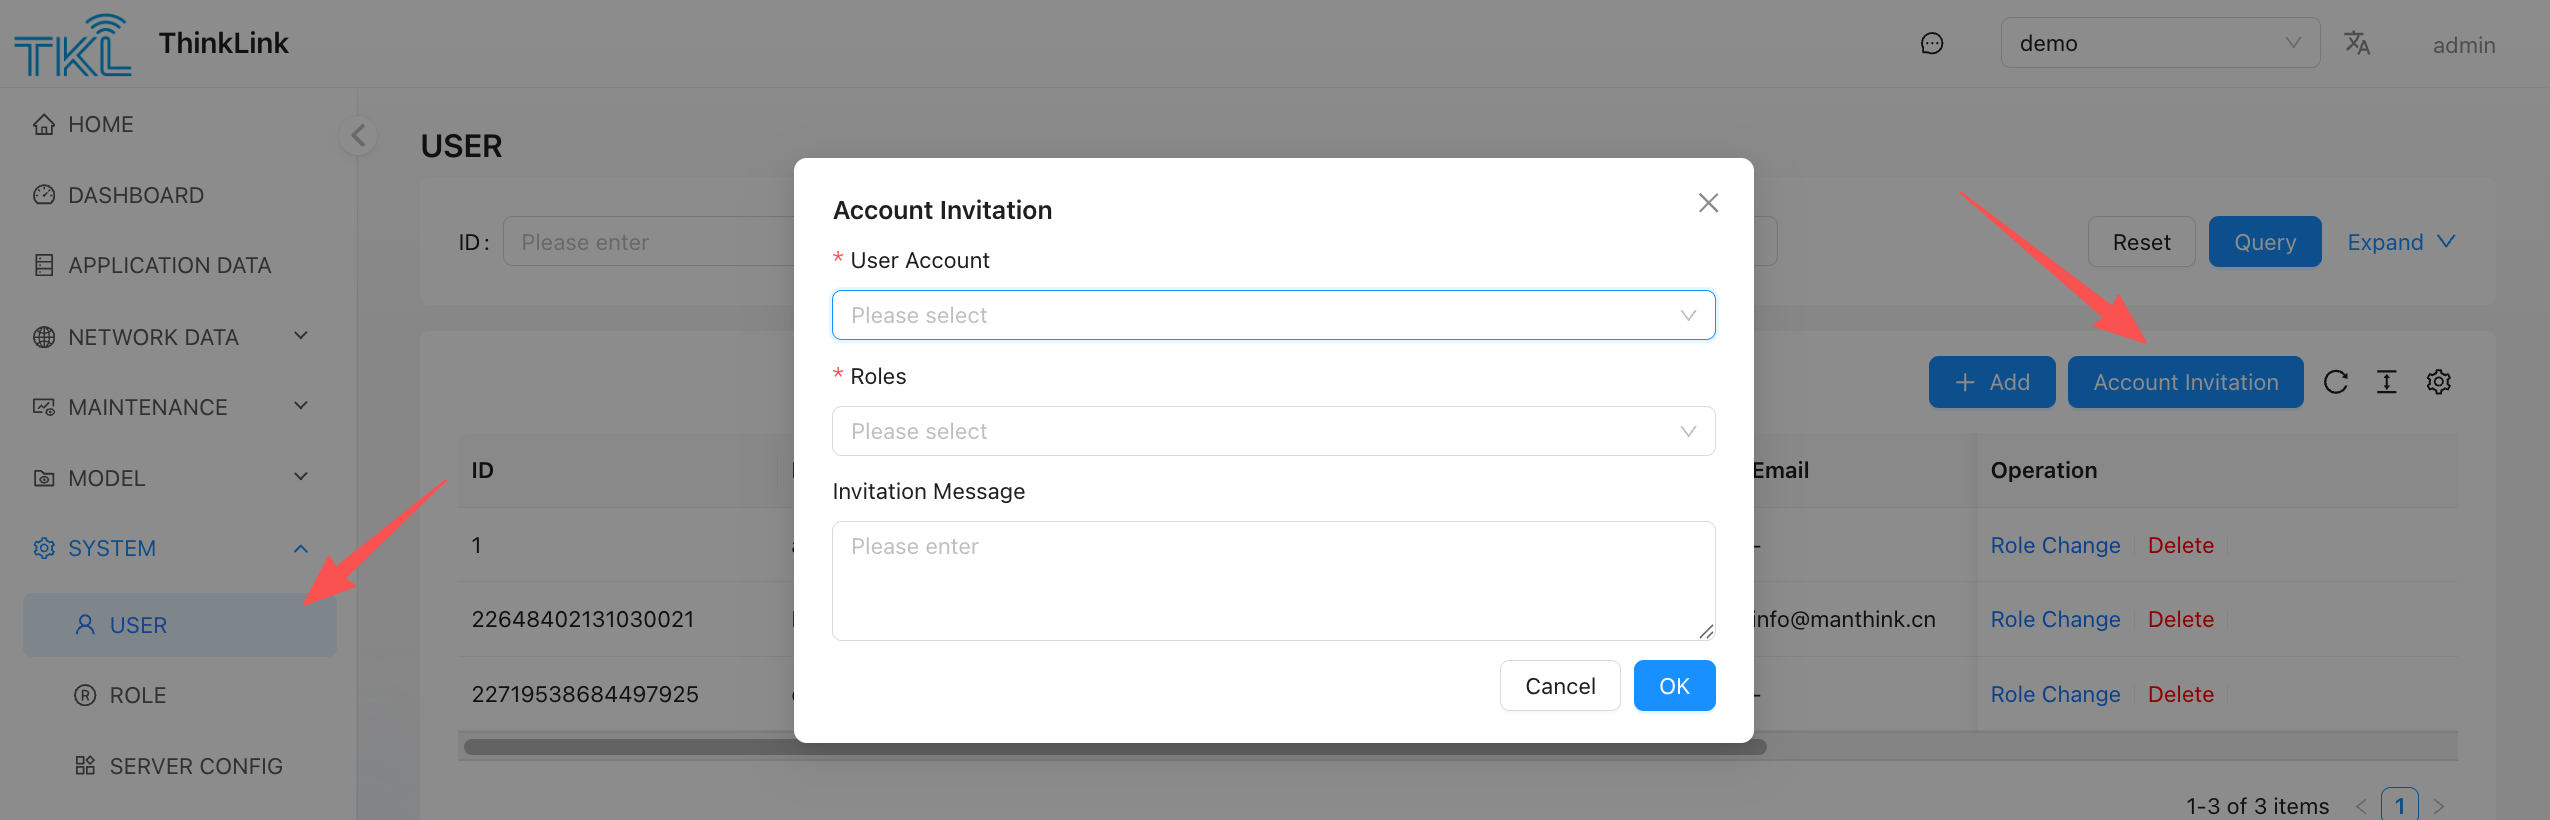
1.3. Role Change
In the user management list, there is an operation menu on the right side of each user entry. Click "Role Change" to modify the user's current role:
- A character selection box pops up.
- Commit changes after selecting a new role.
- Changes take effect immediately, without restarting or refreshing.
Applicable to scenarios such as personnel responsibility adjustment and project collaboration changes.
1.4. Department Change
Click Department Change in a user's action menu to replace all department memberships for that user:
- Select every department the user should belong to.
- Save to replace the user's previous memberships with the current selection.
- To remove the user from every department, clear all selections and save.
A user can belong to multiple departments. To add or remove only one membership while keeping all other memberships, use Add Members or Remove from Department Management.
1.5. Transfer Ownership
permission description: This feature is visible and operable only by the owner of the current organization.
In the User Actions menu, click "Transfer Ownership":
- the system pops up the ownership transfer confirmation box.
- Select the target user (must be a member that already exists in this organization).
- After the second confirmation, the ownership is transferred to the new user.
The original owner will be demoted to the normal administrator or permission level corresponding to the assigned role.
[Warning] The ownership transfer operation is irreversible. Please be cautious.
1.6. API Key Permission Boundary
ThinkLink supports both personal API Keys and System API Keys:
| Type | Where to create | Permission boundary |
|---|---|---|
| Personal API Key | Personal Center | The current user creates, views, and deletes keys only for themselves. |
| System API Key | System Platform → System API Key | A system admin selects an organization and a user, then issues an API Key for that user. |
Use System API Key when an external system needs a long-lived credential representing a user in a specific organization. Use the Personal Center API Key for the current user's own automation scripts.